

How to Make a Custom Google Map
From a simple starter map to adding your own custom icons, I've got you covered.

I think I made my first custom Google Map for a road trip I took back in 2016 and they’ve proved indispensable in my travels ever since. They’re great to have for your own reference, but what’s even better is that you can easily share them with your travel partners or friends/family back home if you’re going solo.
I’m the kind of traveler that likes to front-load my planning so that once I’m on a trip I can be a little more spontaneous. When I travel I usually don’t plan beyond transportation and accommodations, so to make things easier I spend a lot of time overpopulating my map with both the boring logistical stuff (airports, train stations, etc.) and fun places (restaurants, activities, sights, etc.) so that I have lots of options when I’m out and about.
If you’re already well-versed in the art of making these handy little tools, this post might not be for you. But if this is the first you’ve heard of them, or you’re interested in making one for your next trip, you’re in the right place.
Let’s do this.
Creating a Custom Google Map
Make sure you’re signed into your Google account on a desktop.
Go to google.com/mymaps
Select create a new map > create.
Click where it says Untitled map and rename your map.
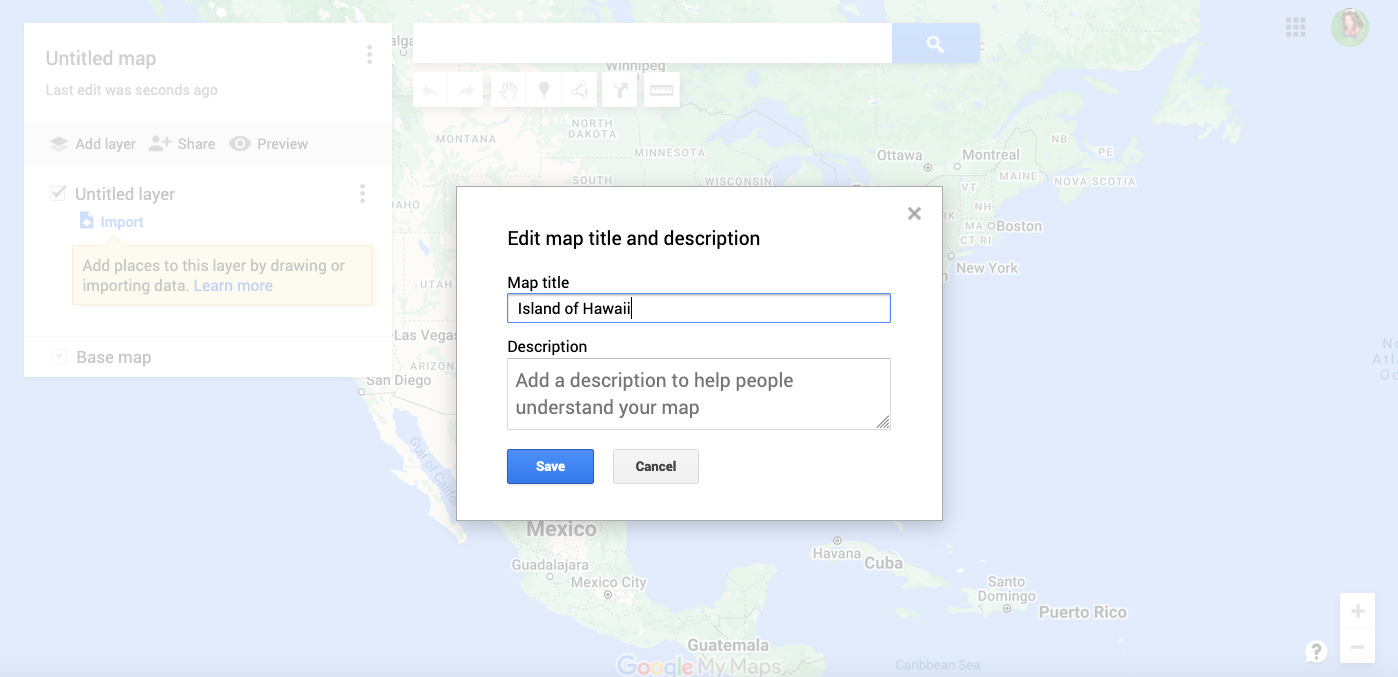
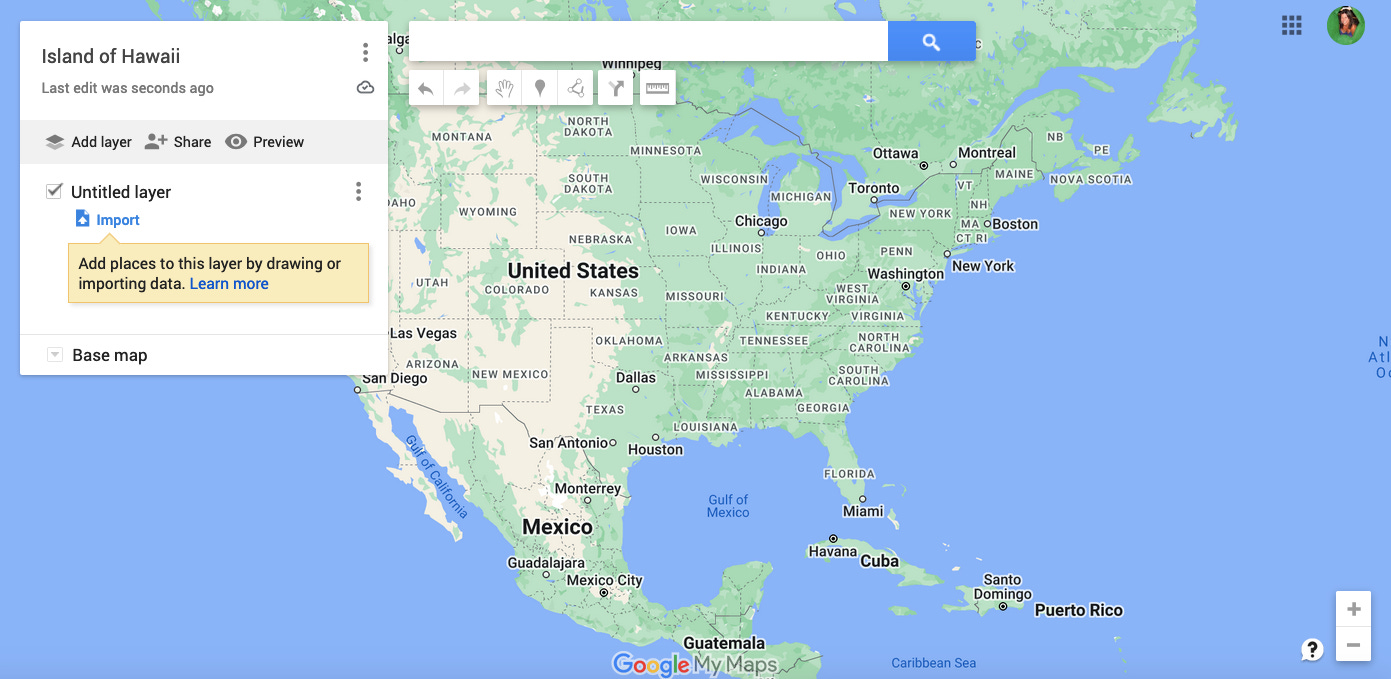
It should now look like this:

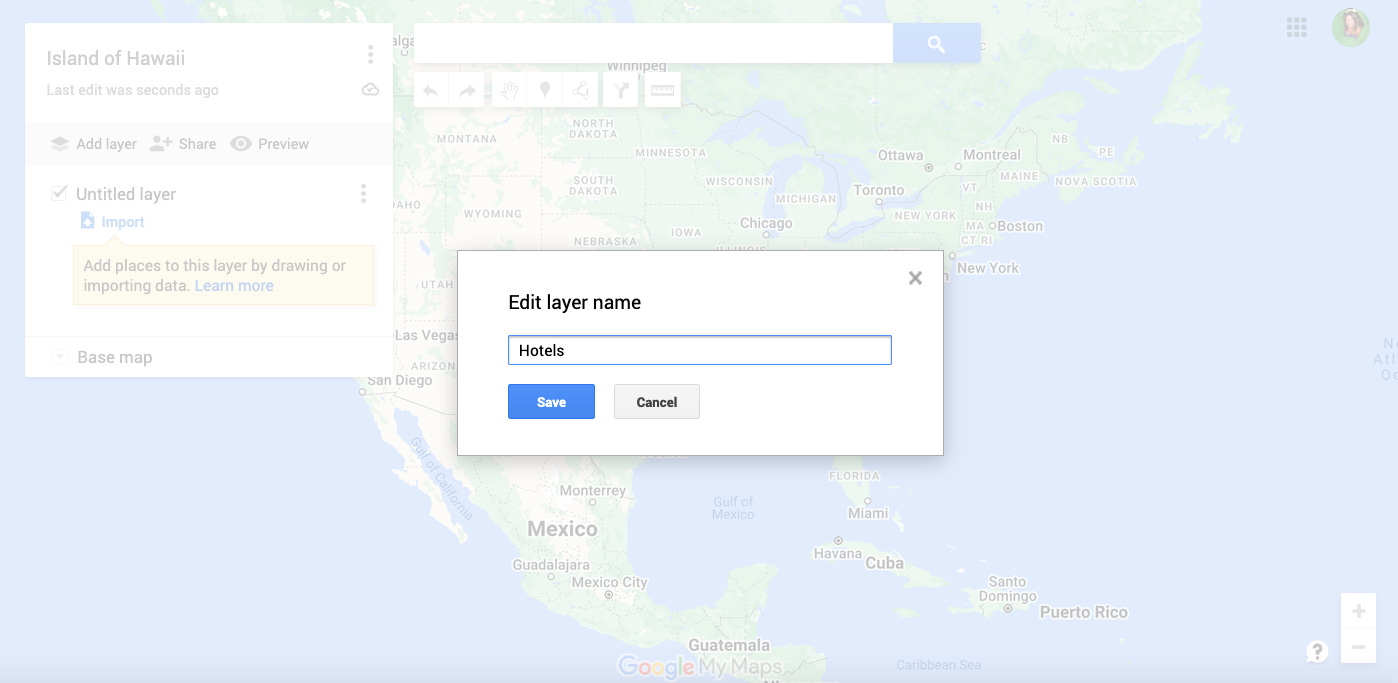
Next you’re going to want to add your first layer. Click where it says Untitled layer and add in your first section. Then press save.

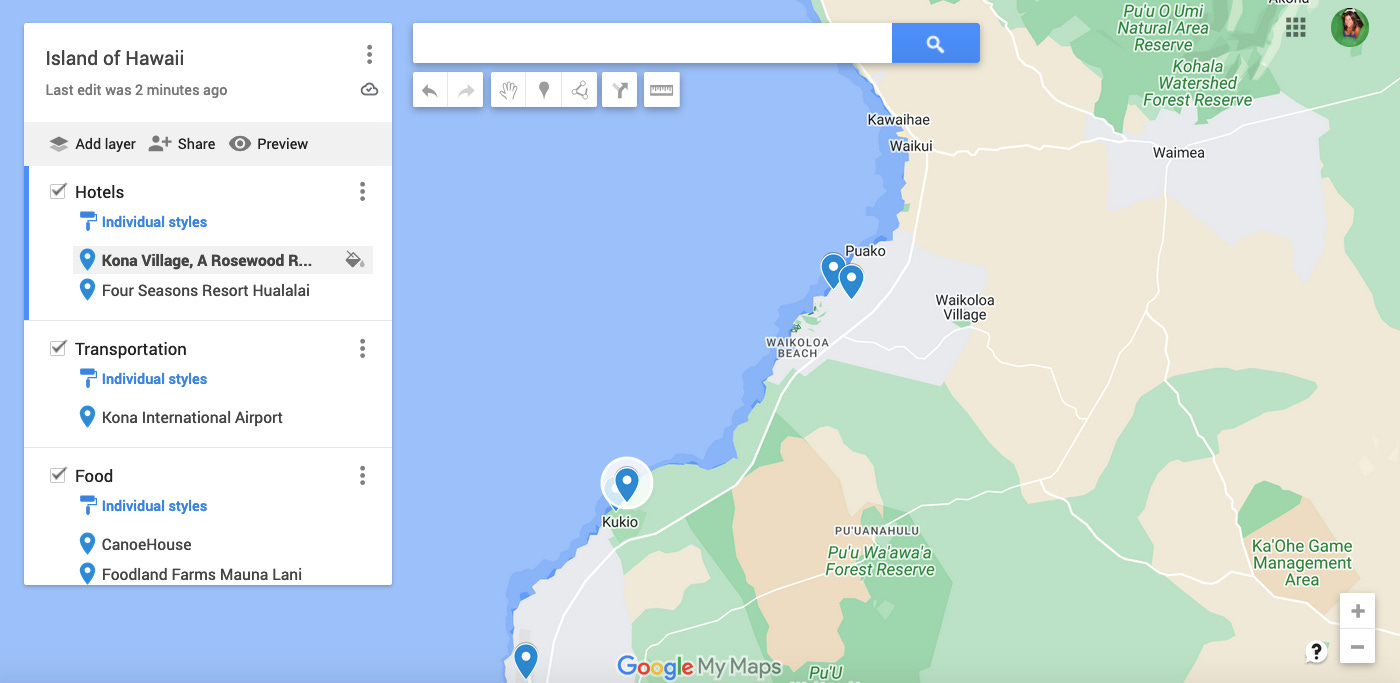
Now you’re ready to add your locations. Use the search bar to type in a location and press the magnifying glass to search. Click the plus sign (add to map) at the bottom left of the popup to add to your hotels layer.

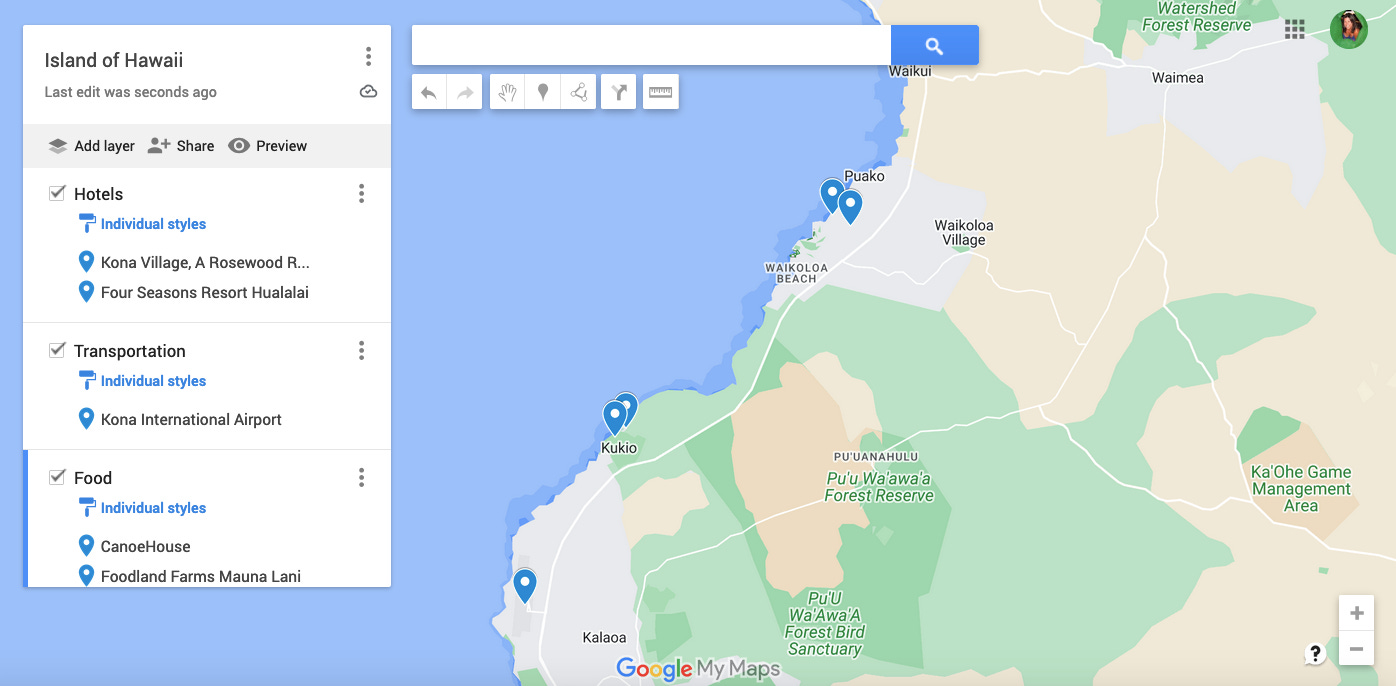
When you’ve finished adding locations to your first layer, press add layer to create your next category (i.e. food, transportation, etc.)
Now repeat the process, adding as many layers and locations as you like.

Congrats, you’ve created a simple custom Google Map.


Changing the Pin Colors
Hover over one of your locations and you’ll see a paint can pop up.
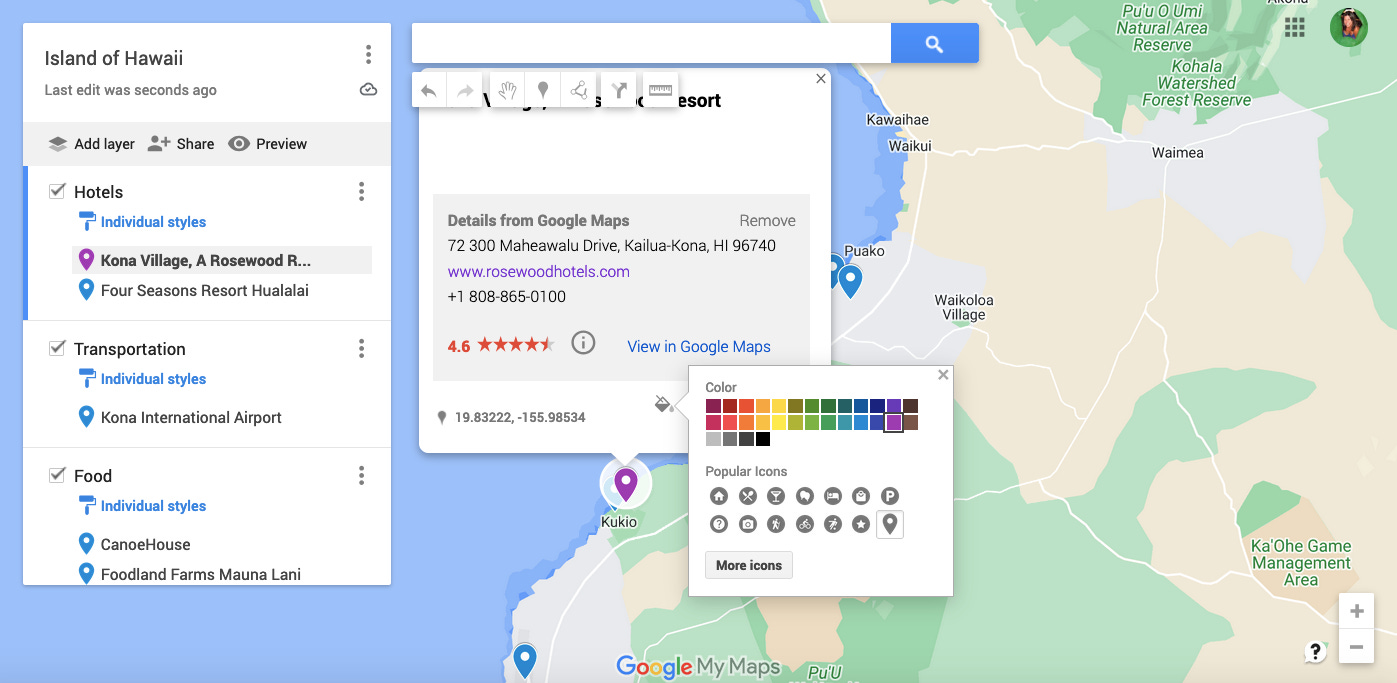
Click on the paint can and select a color for that location. The pin color (here, we have purple) will change on your map key and on the pin within the map itself.

Repeat the process until you have something that looks like this.

Done and done! You now have a simple custom map with different pin colors.


Adding Premade Icons
Hover over one of your locations and select the paint can.
Instead of clicking on a color, either choose one of the most popular icons or select more icons and choose one that fits. We’re using the airport for this example, so let’s go with the airplane icon. Press the blue OK button to select.

You should now see an airplane icon on both the map key and on the location within the map.

That’s it. Simply repeat for the rest of your locations.


Creating Custom Icons
Hover over one of your locations and select the paint can.
Click on more icons and then select custom icon.
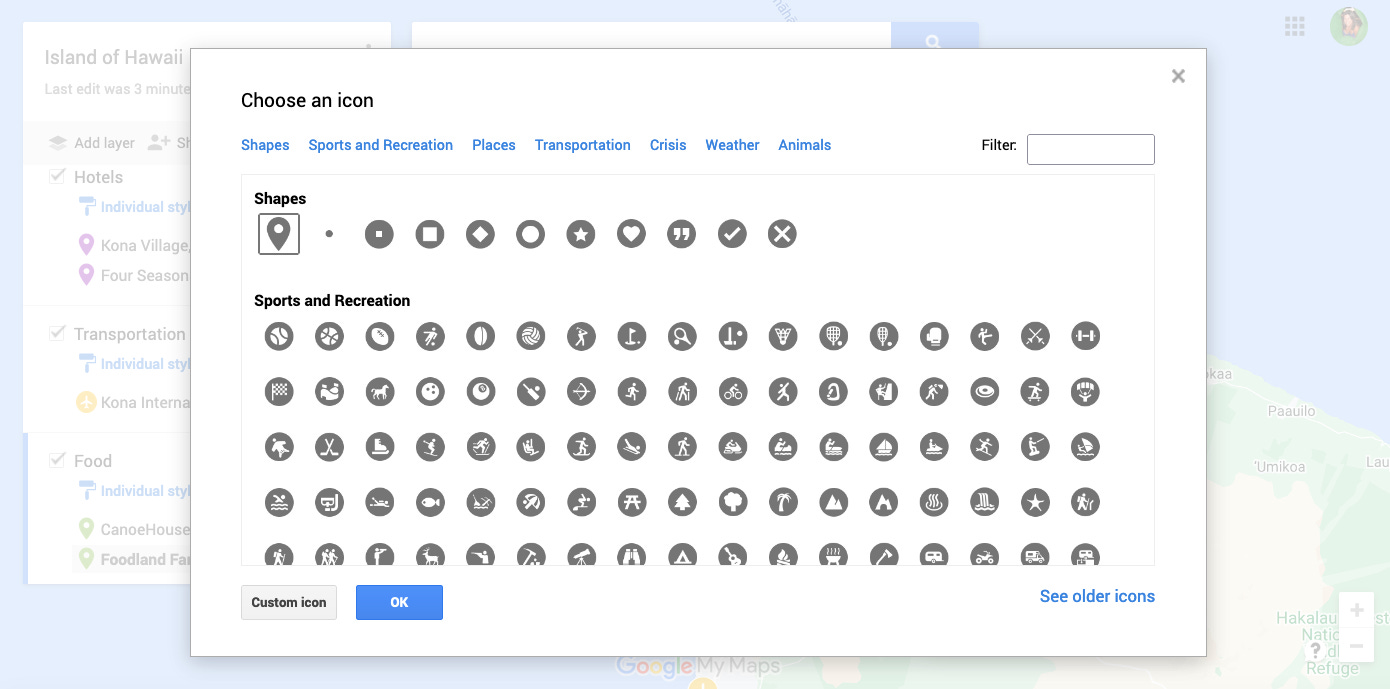
You have several choices, but for today let’s go with the Google Images option.

For this example, I’m going to search for “grocery cart clip art” because my location is Foodland Farms. After you find one you like, click the blue insert button and then OK.

Now we have a grocery cart icon on both the map key and on the location within the map.

That’s it. Simply repeat for the rest of your locations.


Hope this was helpful! I usually just color code my maps, but wanted to throw in other options in case you felt like getting creative.
Let me know if you have any questions!